

he right wall treatment can make a room feel finished before you have chosen a single piece of art. A narrow band of vertical grooves adds cottage charm; crisp panels can make a dining room feel architectural; a painted half-wall can give a busy hallway a calmer, more considered rhythm.
That is the appeal of wainscoting and beadboard styles. They add texture, protect vulnerable walls, and give paint color somewhere interesting to land. The trick is knowing which treatment you are actually looking at, how high it should rise, and whether the material can handle the room around it.
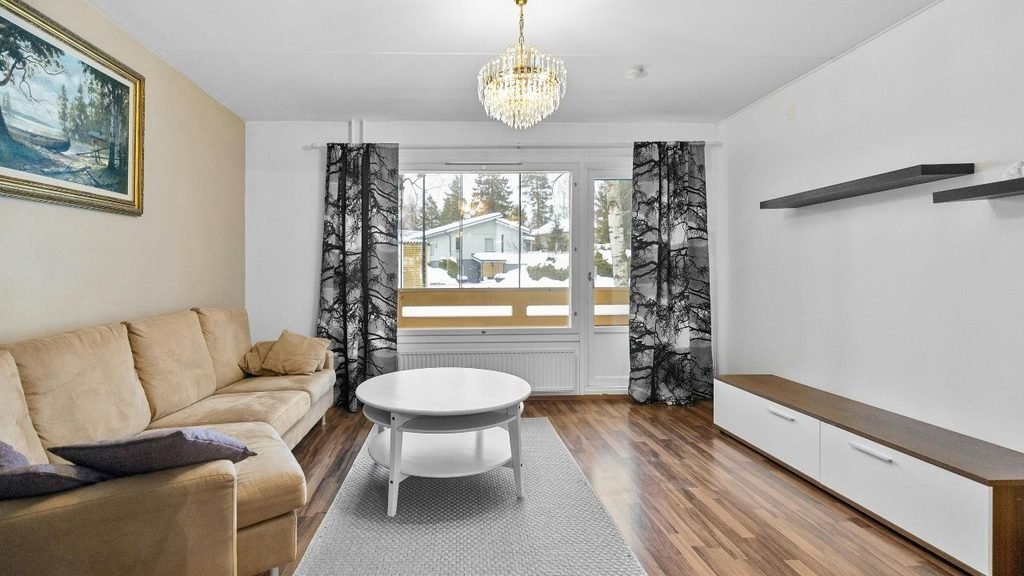
In this guide, you will learn the difference between wainscoting and beadboard, compare six popular looks, choose sensible materials and proportions, and follow a practical plan for how to install beadboard wainscoting. You will also find bathroom guidance, a compact comparison, answers to common questions, and an image SEO plan for publishing the finished project.
| Quick takeaway: Wainscoting is the broad wall-paneling treatment. Beadboard is one particular grooved panel style that can be used as wainscoting. |
What Is the Difference Between Wainscoting and Beadboard?
The difference between wainscoting and beadboard is mainly one of category and appearance. Wainscoting describes a wall-paneling treatment, usually installed over the lower or middle portion of a wall. It can use wood, MDF, PVC, plywood, or other manufactured panels. Beadboard is a specific style or material, recognized by narrow vertical grooves and rounded “beads” between the boards or panel sections.
That means beadboard can count as wainscoting when it is used as a lower-wall treatment, but not all wainscoting is beadboard. A raised-panel dining room, a flat-panel hallway, and a board-and-batten entryway are all wainscoting examples without being beadboard. If you are still weighing the beadboard vs wainscoting difference, think of it this way: wainscoting is the umbrella; beadboard is one design under it.
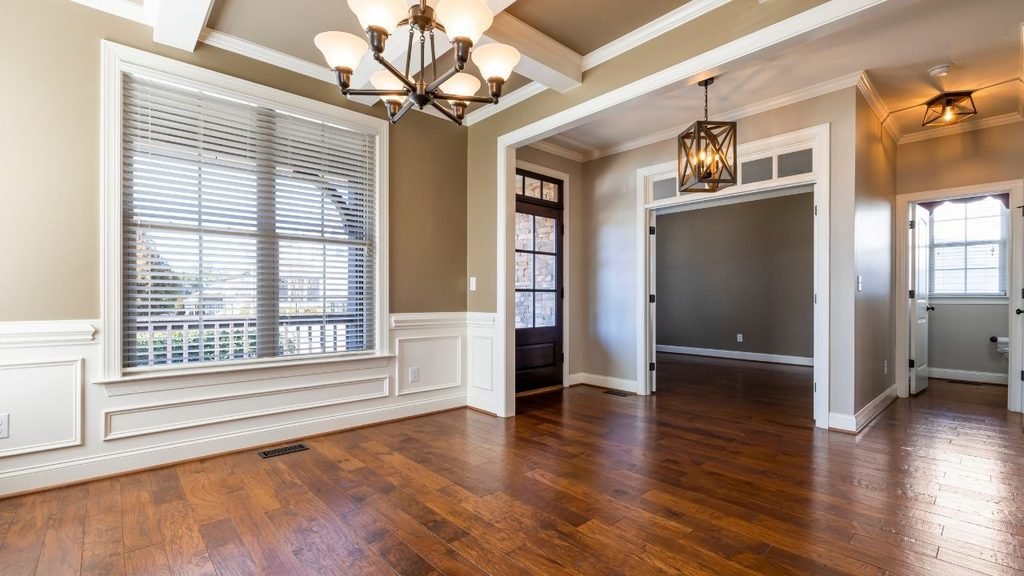
| Feature | Wainscoting | Beadboard |
| Definition | Broad wall-paneling treatment | Specific grooved panel style or material |
| Appearance | May be raised, flat, framed, battened, or grooved | Usually narrow vertical beads or grooves |
| Material | Wood, MDF, PVC, plywood, or composites | Wood, MDF, PVC, or beadboard-look panels |
| Installation | Panels, rails, stiles, battens, or applied molding | Sheets, planks, or interlocking grooved boards |
| Best uses | Dining rooms, halls, bedrooms, stairways, and entries | Cottages, baths, mudrooms, kitchens, and casual spaces |
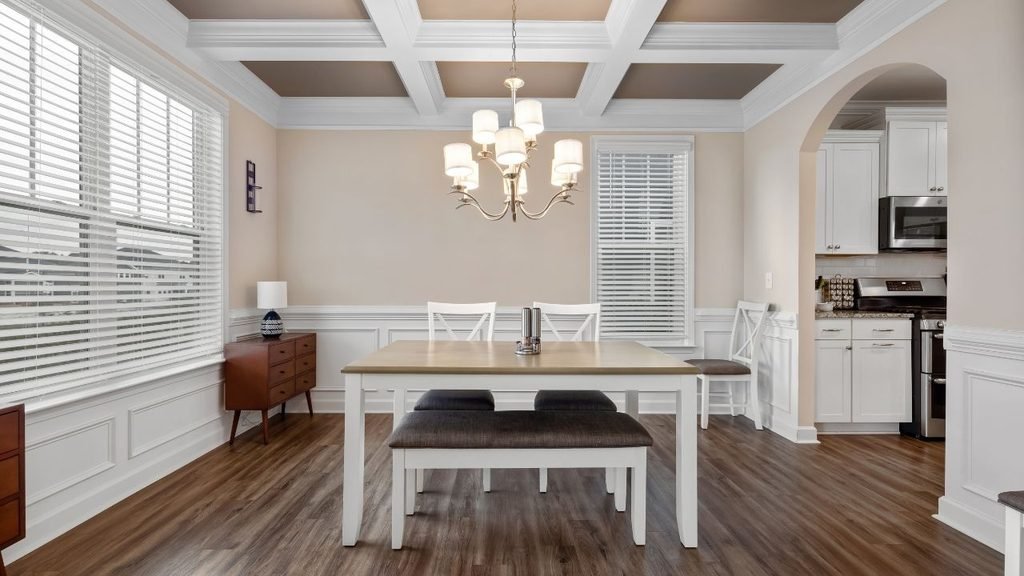
Six Wainscoting and Beadboard Styles to Know
Traditional beadboard
Traditional beadboard uses evenly spaced vertical grooves, often capped with a simple chair rail. It suits bathrooms, breakfast nooks, porches, hallways, and bedrooms where you want texture without a formal mood. White beadboard with a soft neutral wall above it feels classic; a deep green or muted blue can make the same profile more tailored. Images of beadboard wainscoting are useful for comparing groove width, rail thickness, and the amount of visual texture you actually want.
Raised-panel wainscoting
Raised-panel wainscoting has a central panel that projects from the wall, surrounded by bevels, rails, and stiles. It creates shadow lines and a furniture-like sense of craftsmanship. This style works especially well in dining rooms, formal entries, libraries, and traditional homes. Keep the surrounding trim substantial enough to match the panels; delicate baseboards beside heavy raised panels can look like the wall is wearing one dress shoe.
Flat-panel or Shaker
Flat-panel wainscoting, often called Shaker-style, uses a smooth recessed or flat center framed by clean rails and stiles. Its simple geometry works in contemporary, transitional, farmhouse, and Scandinavian-inspired rooms. It is a strong choice when you want architectural structure but not a lot of surface detail. A 1×3 or 1×4-style frame, scaled to the wall and room, can create the look with applied trim over a smooth backing panel.
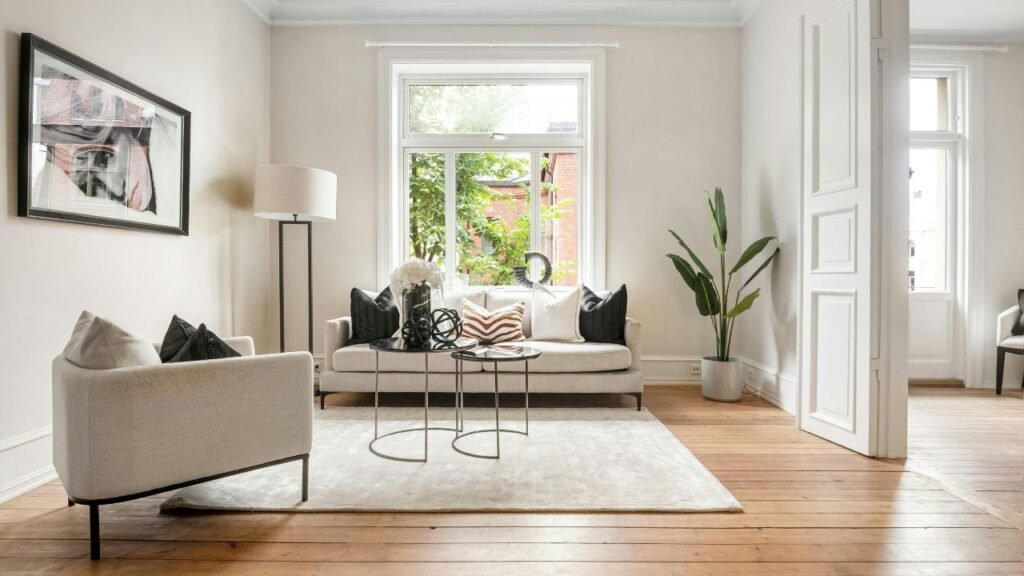
Board-and-batten
Board-and-batten wainscoting pairs broad vertical boards or a smooth backing surface with narrow raised battens. The battens create a repeating pattern that feels more graphic than beadboard. It is effective in entryways, mudrooms, bedrooms, and stair halls, particularly when the wall needs a little visual height. Wider battens read as modern and bold; narrower spacing feels more traditional and detailed.
Picture-frame wainscoting
Picture-frame wainscoting uses rectangular molding applied directly to the wall, creating the impression of inset panels without covering the entire surface. It is a practical option for plaster or drywall when you want a tailored look with less material. Keep the rectangles consistent, align them with doors and windows where possible, and leave enough breathing room at corners so the pattern does not feel squeezed.
Mixed-height treatments
Mixed-height wainscoting changes elevation to suit the room. You might use a lower beadboard section beneath a rail in a bathroom, then carry a taller panel behind a freestanding tub or vanity wall. In an open-plan home, one treatment can stop at a doorway while another rises behind a dining banquette. The goal is intentional zoning, not a wall that appears to have lost an argument with a measuring tape.
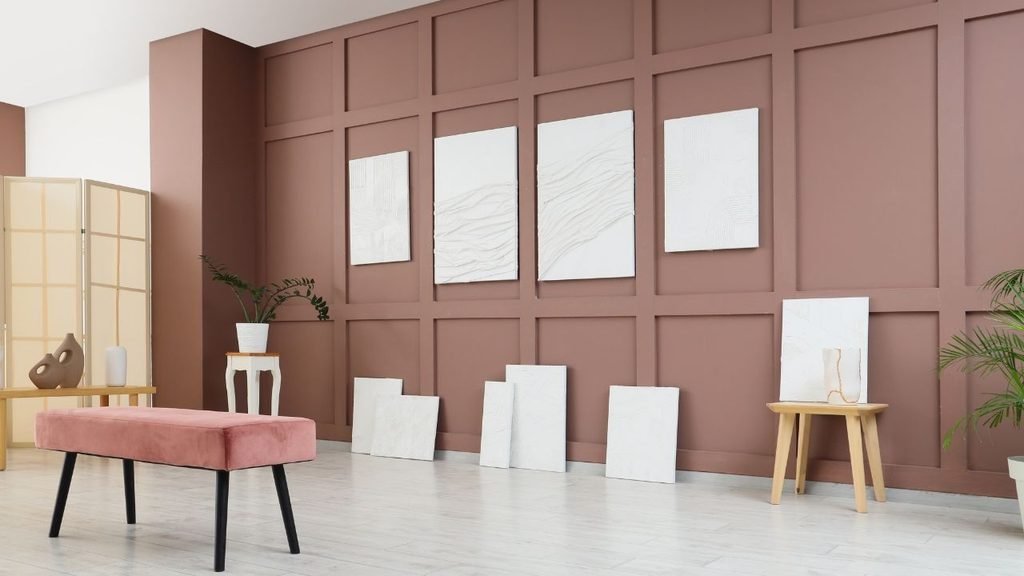
How to Choose Height, Materials, and Finish
Height is the first decision people notice, even when they cannot explain why a room feels balanced. Common installations fall around one-third to one-half of the wall height, but that is a design guideline rather than a rigid rule. An 8-foot wall might suit a 32- to 42-inch treatment, while a tall foyer may need 48 inches or more to feel intentional. Measure from the finished floor to the top of the baseboard or cap rail, not from the subfloor.
Use the architecture as a guide. A chair rail that aligns with a window sill, countertop, or nearby door detail often feels more connected than an arbitrary height. In a room with low ceilings, a lower treatment can preserve airiness. In a tall room, a higher treatment can make the lower half feel grounded. Before cutting, mark several possible heights with painter’s tape and live with them through different lighting conditions.
Match the material to the room
Solid wood offers natural character and can be repaired or refinished, but it moves with changes in humidity. MDF is smooth, stable, and easy to paint, though ordinary MDF is not the right choice for persistently damp conditions. PVC and other moisture-resistant manufactured panels can be more suitable in bathrooms or utility areas. Always follow the panel maker’s installation and sealing guidance rather than assuming every “water-resistant” label means waterproof.
If you are comparing wood beadboard wainscoting panels, inspect the profile, thickness, edge detail, and recommended spacing. Thin decorative sheets may install differently from tongue-and-groove boards. Account for outlets, baseboards, door casings, and corners before ordering. Buying just enough material for the visible wall is a reliable way to discover that the final corner requires one more full panel.
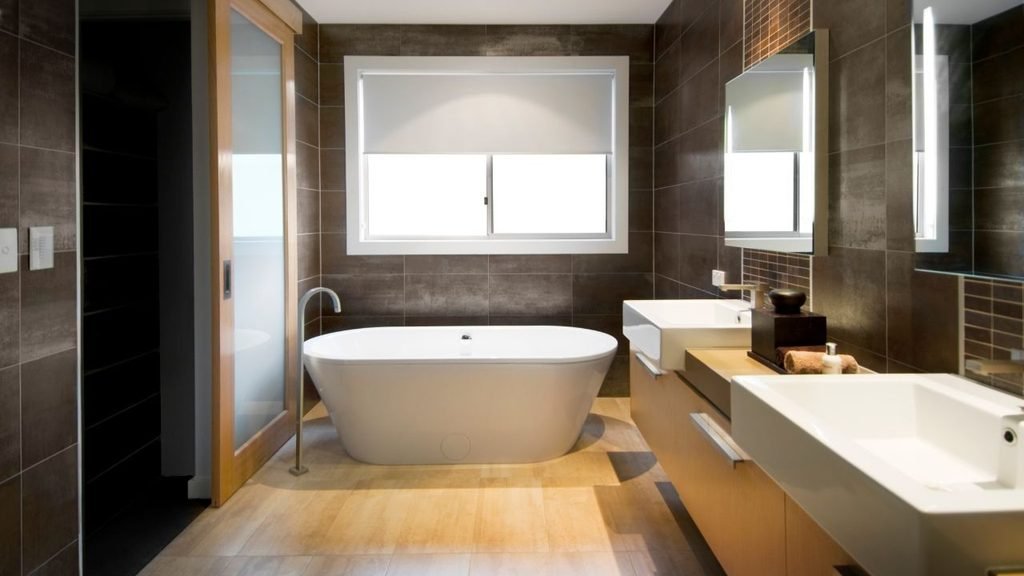
Use sheen and trim strategically
For painted interiors, satin or semi-gloss finishes are often practical on wainscoting because they reflect light and are easier to wipe than flat paint. A softer eggshell can work in a low-touch room. Use the same sheen on the cap rail and baseboard for a unified finish, or let the rail match the trim while the panel carries a slightly different color.
Trim determines whether the treatment feels crisp or improvised. Plan for a baseboard, top cap or chair rail, outside corners, inside corners, and transitions at doors. A 2 1/2- to 3 1/2-inch cap rail can look balanced with many residential panel treatments, but the correct size depends on existing casing and baseboard. The goal is visual proportion: panel details should support the room’s architecture rather than compete with it.
| Design check: Step back at least 10 feet before approving a height or color. Wainscoting is a repeating pattern, so a small proportion problem becomes noticeable across the whole wall. |
Before you buy, make a short checklist
- Measure twice — record each wall, opening, corner, and obstruction separately.
- Check the substrate — note drywall, plaster, masonry, uneven sections, and existing trim.
- Confirm the finish — choose a paint sheen and color that suit the room’s traffic and light.
- Plan transitions — decide how the paneling ends at doors, stairs, cabinets, and adjacent walls.
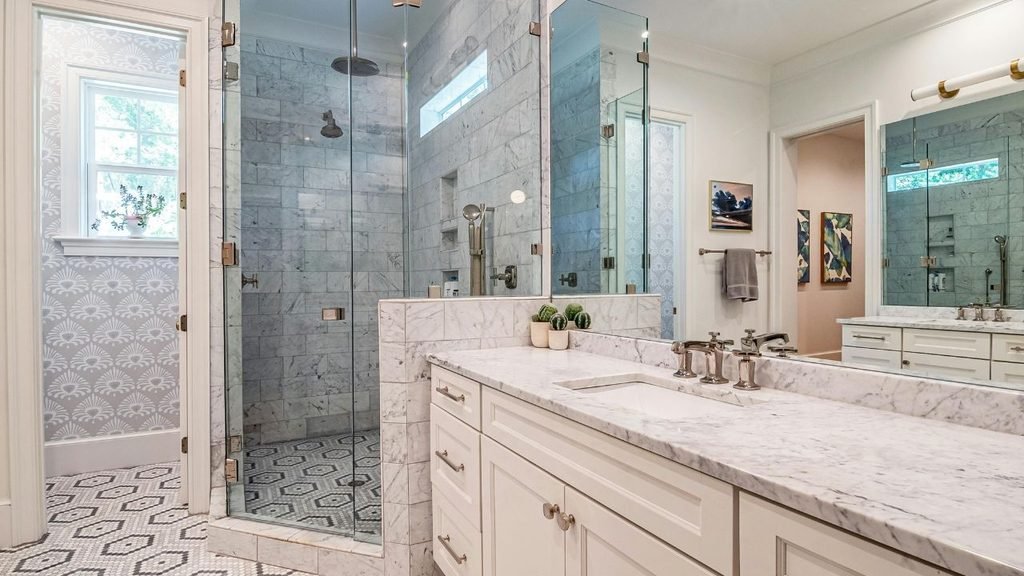
How to Install Beadboard Wainscoting
Learning how to do beadboard wainscoting on walls is less about one clever trick and more about patient preparation. The exact fasteners and adhesive depend on the panel material, wall condition, and manufacturer’s instructions, but the sequence below covers the decisions most installations share.
- Measure the walls. Add the lengths of each run, subtract large openings, and include a sensible allowance for cuts and mistakes. Mark your intended finished height from the floor, accounting for the baseboard and cap rail.
- Locate studs and services. Use a stud finder and mark stud centers above the future rail line. Before cutting or fastening, identify electrical outlets, plumbing, and any known hidden wiring. Turn off power where appropriate and use suitable caution around service areas.
- Prepare the wall. Remove loose paint, repair dents, scrape away bumps, and clean dusty surfaces. Decide whether existing baseboard stays or comes off; leaving it in place may require a small starter strip or a new cap detail for a flush result.
- Dry-fit the panels. Start from a visually important corner or doorway. Check how seams land, especially beside windows and outlets. Avoid ending with a tiny sliver at the most visible corner; shift the layout so both sides read intentionally.
- Cut carefully. Transfer measurements to the back of the panel, label each piece, and cut with the recommended blade. Account for outlet boxes, pipes, outside corners, and expansion allowances specified by the manufacturer.
- Apply adhesive and fasteners. Use a compatible construction adhesive in the pattern recommended for the panel, then press the panel into place. Add finish nails or screws into studs or approved blocking, keeping fasteners where trim can conceal them when possible.
- Add the trim. Install or modify the baseboard, then fit the top cap rail or chair rail. Use a level frequently. A slightly uneven floor is common; a visibly wandering top rail is much harder to forgive.
- Fill and caulk. Fill nail holes with a compatible filler. Caulk small gaps at trim joints, corners, and the wall transition where appropriate. Do not use caulk to disguise large structural gaps or a panel that is not properly supported.
- Prime and paint. Prime exposed MDF, raw wood, cut edges, and repaired areas with products suited to the material. Apply two careful finish coats when needed, allowing the stated drying time between coats. Lightly sand rough spots rather than burying them under extra paint.
- Check moisture requirements. In bathrooms, kitchens, and laundry spaces, confirm that the panel, adhesive, filler, primer, and paint are compatible with humidity. Seal cut edges as directed, maintain ventilation, and do not place a material in a location where it will receive splash exposure beyond its rating.
| Safety note: Never assume a wall is clear because a stud finder shows no stud. Electrical wiring, plumbing, and other services may run between studs. Use appropriate detection methods, avoid unnecessary deep fastening, and consult a qualified professional when the layout or service path is uncertain. |
Bathroom Wainscoting: Make the Pretty Choice a Practical One
Bathrooms are a natural home for beadboard because vertical grooves echo tile lines and make a compact room feel taller. When reviewing wainscoting beadboard panels for bathrooms, prioritize moisture resistance over a romantic material story. Moisture-resistant MDF, PVC, and other purpose-made panels may be suitable, while standard untreated MDF and porous wood need much more caution in damp locations.
Keep the treatment away from direct, repeated splash where possible. A toilet wall, vanity wall, or the lower portion of a well-ventilated powder room is usually easier to manage than the wall inside a shower enclosure. Around a sink, seal cut edges, joints, and penetrations according to the product instructions. Use a properly rated backsplash or tile where water regularly hits the wall rather than expecting paint and caulk to perform miracles.
Ventilation matters as much as the panel. Run the exhaust fan during and after showers, address leaks quickly, and let the room dry between uses. People searching for beadboard wainscoting bathroom pictures are often comparing height and color, but the less glamorous details—sealed edges, sound joints, and airflow—will determine how well the installation ages. Save pictures of beadboard wainscoting that show transitions, corners, and the area behind the vanity, not just the prettiest straight-on view.
Frequently Asked Questions
Does beadboard count as wainscoting?
Yes. Beadboard counts as wainscoting when it is used as a decorative or protective wall treatment, typically on the lower portion of a wall. Wainscoting is the broader category, so raised-panel, flat-panel, board-and-batten, and picture-frame treatments can also qualify.
What is the ideal wainscoting height?
There is no single ideal height. Many homes look balanced with wainscoting at roughly one-third to one-half of the wall, often around 32 to 42 inches on an 8-foot wall. Aligning the top with a sill, countertop, or nearby architectural detail can matter more than following a fixed number.
Can beadboard be used in a bathroom?
Yes, if the material and installation suit the moisture level. Choose a moisture-resistant product, seal cut edges and joints, use compatible primer and paint, provide ventilation, and avoid areas with excessive direct splash unless the product is specifically rated for that exposure.
Can beadboard panels go over drywall?
Often, yes. The drywall should be sound, clean, reasonably flat, and free of loose paint. Locate studs, account for outlets and trim, and use the adhesive and fasteners recommended for the panel. Very uneven or damaged walls may need repair or furring first.
Is beadboard easier to install than raised-panel wainscoting?
Beadboard panels can be simpler because they create a continuous surface with fewer individual rails and stiles. The difficulty still depends on corners, outlets, uneven walls, and the quality of the trim work. Careful layout makes more difference than rushing through the cuts.
Should wainscoting match the wall color?
It can, but it does not have to. Matching colors emphasize texture and make a small room feel cohesive. A contrasting lower section creates a stronger architectural statement. Use samples in the actual room because natural and artificial light can change how much contrast you see.

Conclusion: Choose the Style That Fits the Room
The most useful way to understand wainscoting and beadboard styles is to start with the room, not the trend. Decide whether you need texture, protection, formality, or a visual transition between spaces. Then choose the panel profile, height, material, sheen, and trim that support that goal.
Before ordering, tape out the proposed height, inspect the wall, and confirm moisture requirements. Save a few reference images, sketch the panel layout, and calculate where seams and outlets will land. With that preparation, your next step is simple: choose one wall, gather the right materials, and begin with a level line rather than wishful thinking.